
Right out of the box.
I’ve been using some of Litko Game Accessories‘ missiles in the playtest, but they haven’t been perfect. So I decided to order some to my specifications. Here’s unwrapping and assembling the custom missiles, in the style of my usual workbench articles. As usual, click on the pictures to zoom in.
It’s worth mentioning that I’ve ordered bases and counters from Litko for years, starting in the days when they were Litko Aerosystems and were supplying laser-cut wood and flexible magnets. They even made some ridiculous bases for individually mounted Epic 40K figures. At this point, I’m what you’d call a satisfied customer.
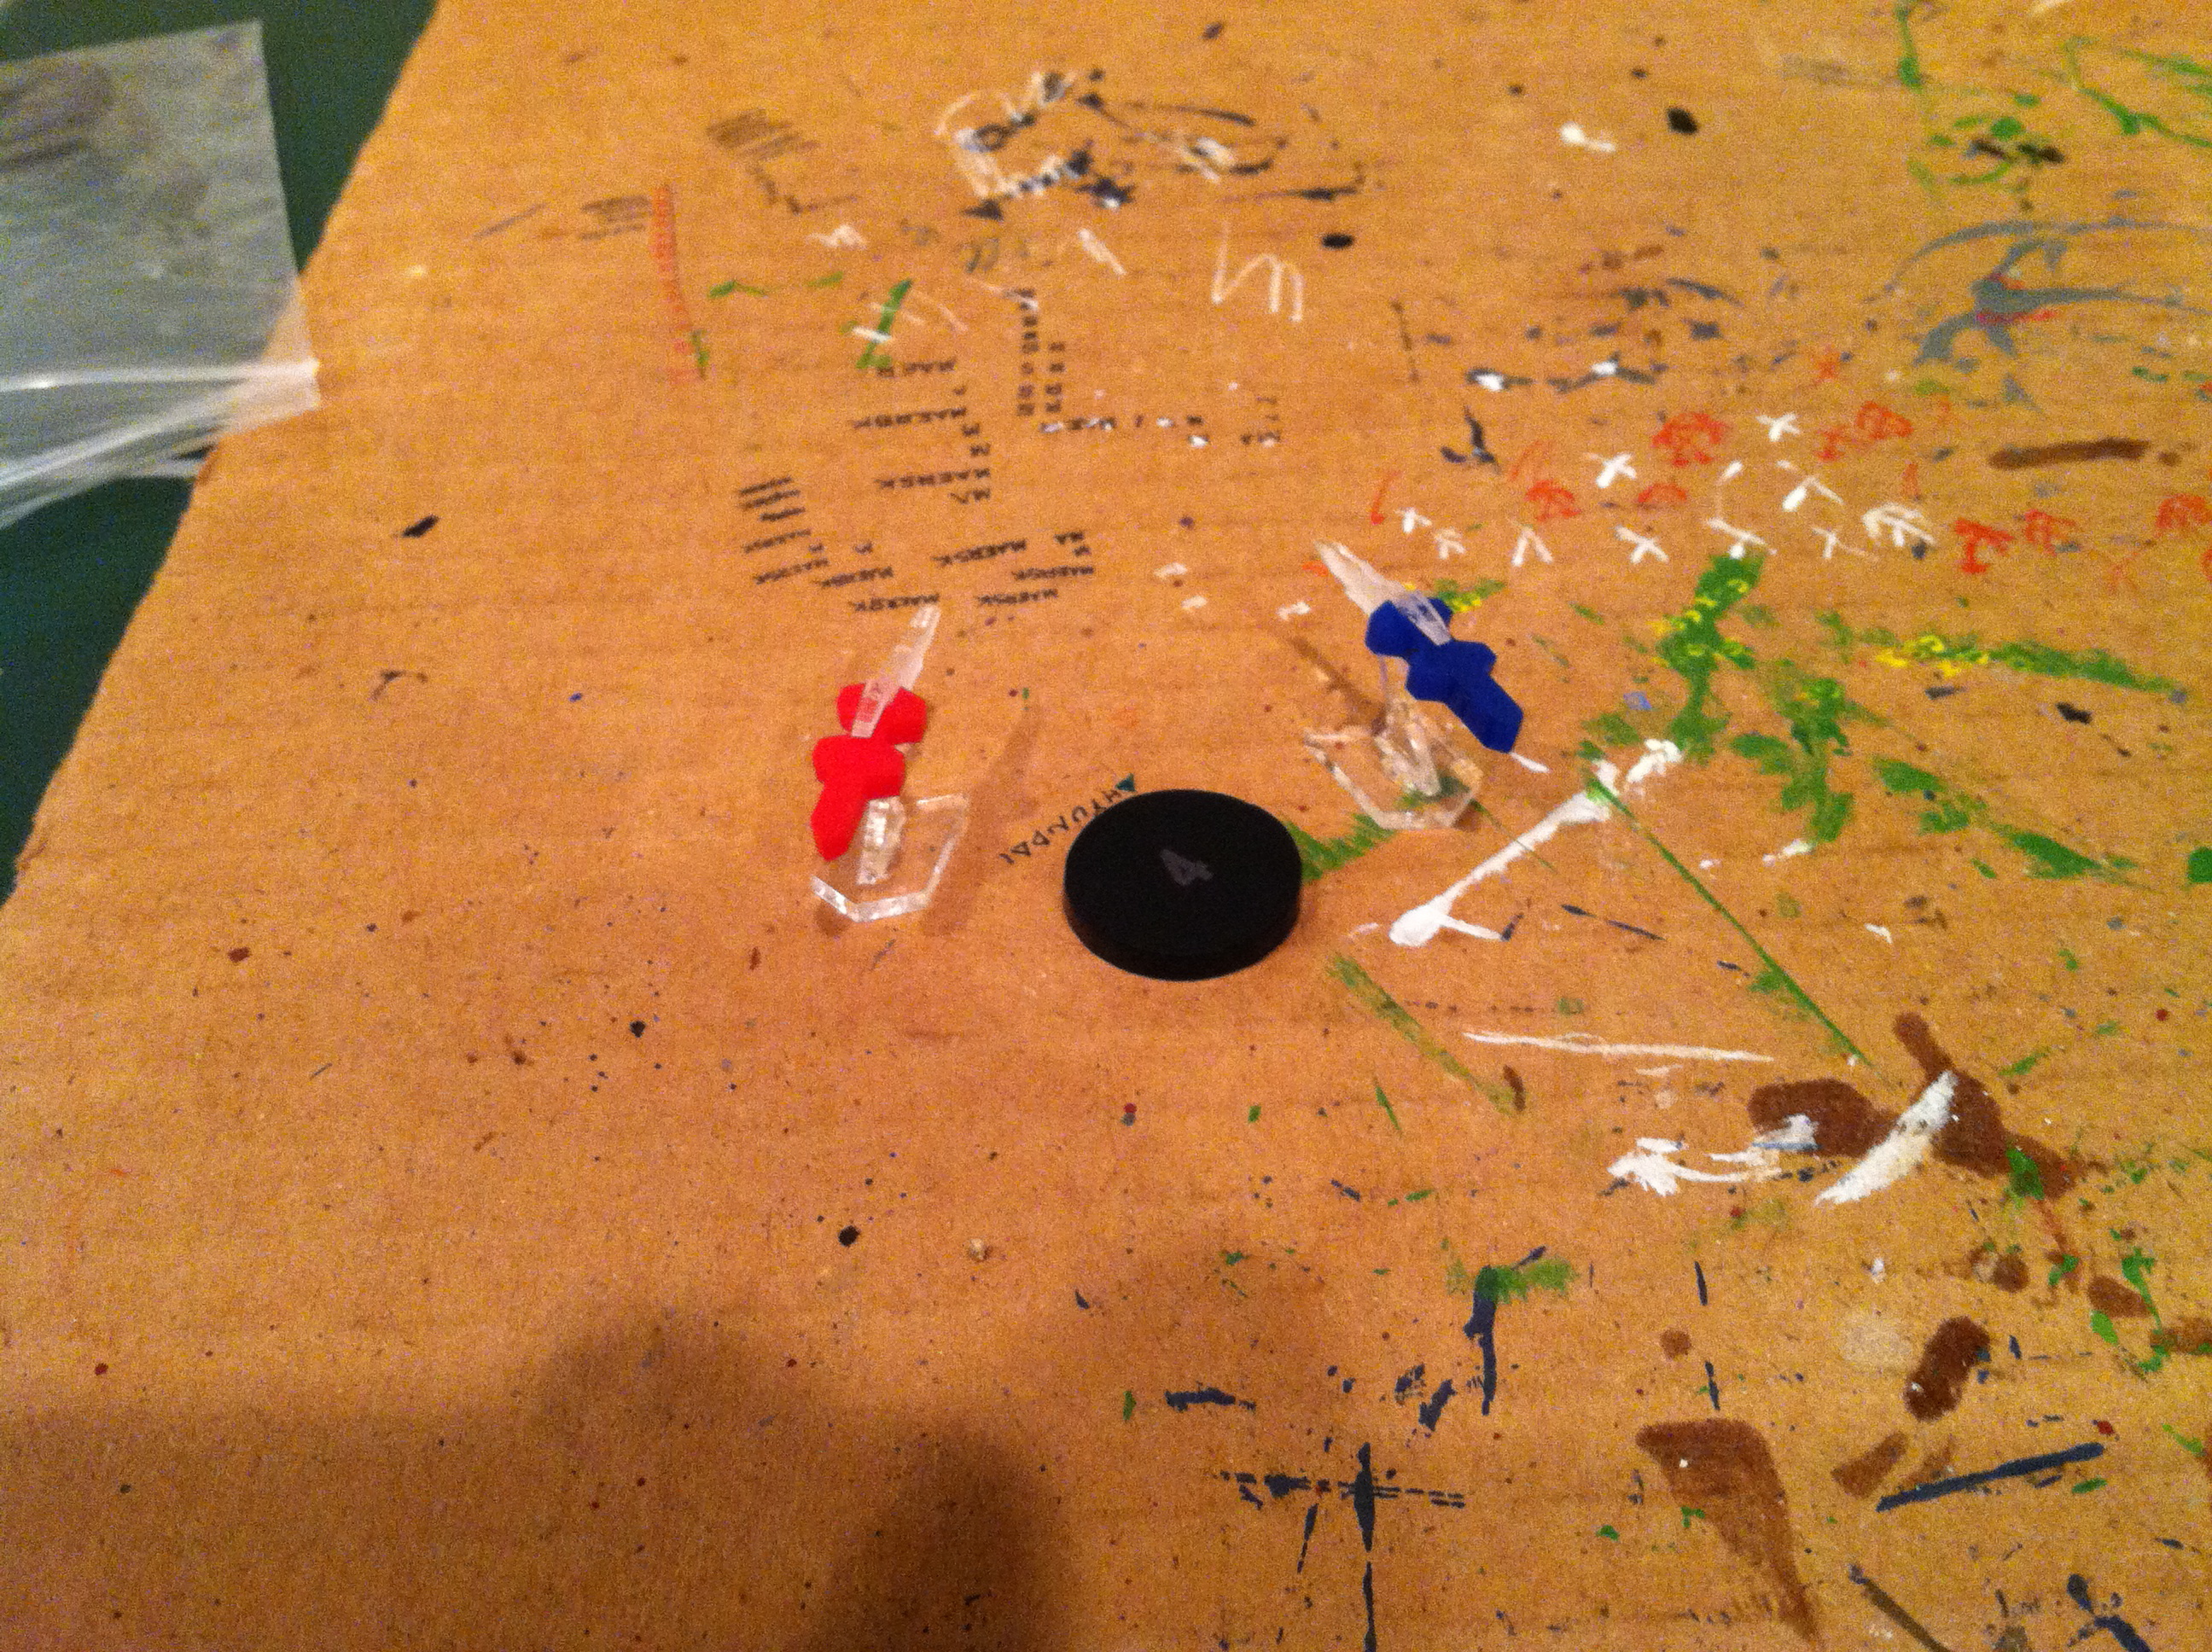
The original mini-missiles, plus a numbered counter.
So this is what the mini-missiles look like on my workbench. They come in two colors: red and blue. They look great here, but the blue ones bleed into a black background in all but the best light. And it’s not like I don’t play on a black background at all. (Where’s that sarc font?)

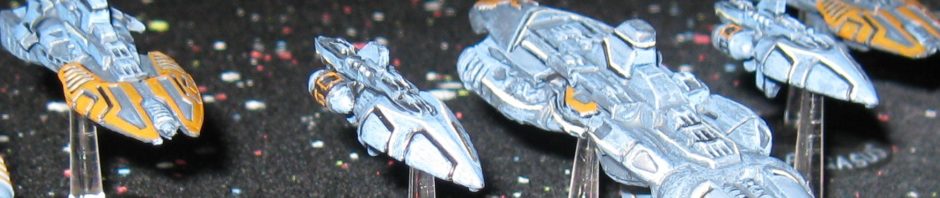
Blue mini-missiles being launched by Eldar.
This picture doesn’t really do the bleed justice. That iPhone camera just doesn’t see things the same way I do.

What they’d look like in action in Jump War.
The other issue is that I need to keep track of individual missiles in the game, which is where those black counters come in. (I had them just laying around. I told you I’ve ordered from Litko before.) It worked OK, but I’m trying to avoid a proliferation of counters.
So I ordered some missiles etched with numbers.

Parts layout.
The part breakdown of each missile is fairly simple: one colored missile, a base, and (in between them) a stand with exhaust etched onto them. I ordered two sets: one in the same red as the originals; and the other, in gold.
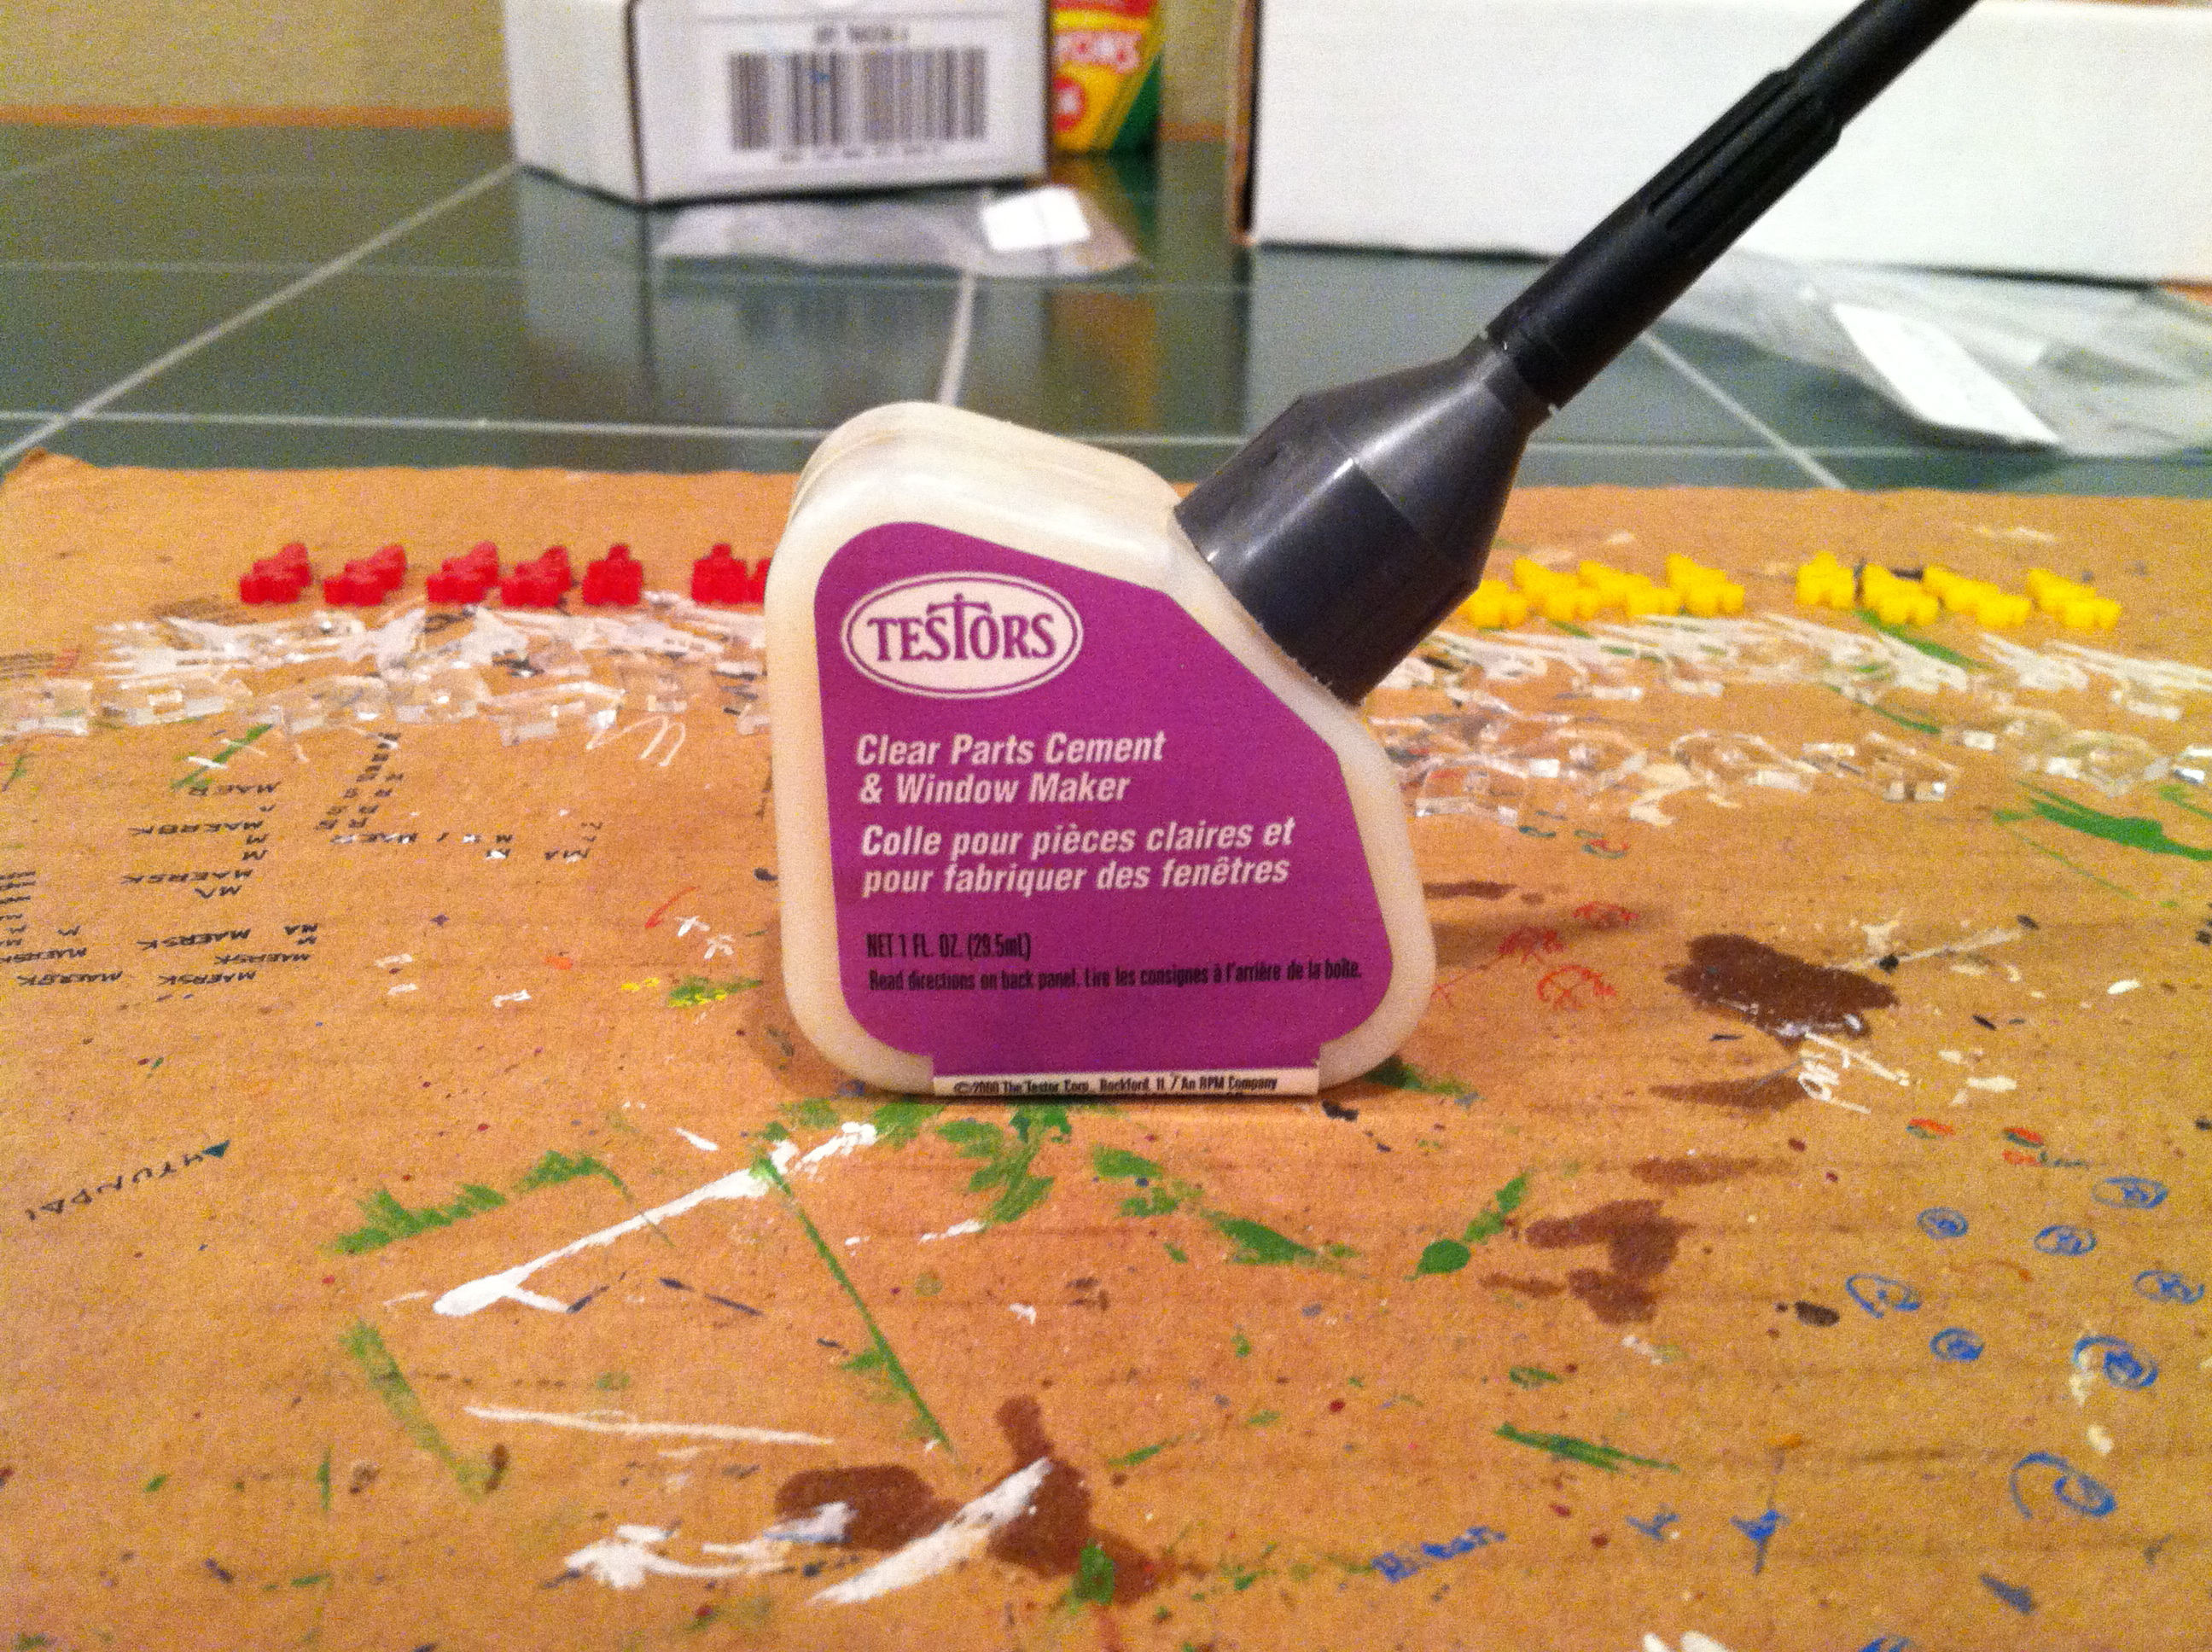
Product placement!
Unlike their competitors, Litko doesn’t cut tight joints, so you’re going to need some glue. This is the one I use. Testors calls this a cement, but it’s not the same stuff as their regular Plastic Cement. (It doesn’t melt the parts together.) As it’s specifically intended for clear parts, it doesn’t leave cloudy traces the same way cyanoacrylate sometimes will.

The assembled bases.
The next step is to pick out the etched numbers on the missiles. The numbers stand out great on the black chits, adequately on the red missiles, and not at all on the gold. Those of you who’ve played with the original D&D dice know what the solution is.

After rubbing with white crayon.
You guessed it: break out a crayon, and rub it over the etching until it fills with goo. Brush off the excess with your finger, and you’re set!

Black on gold.
Well … not quite. I’d never done this with a black crayon before, and I was surprised at how sticky it was. I never really got the excess off, and my fingertips turned black every time I touched bare crayon.
If I do this again, I’ll try a different material so I can stick to the white crayon. Or maybe try a different dark color.

The completed missiles.
Even so, I’m pleased with the results. Everything on the new missiles is high contrast: the missiles themselves, and the identifiers. You can’t ask for more than that.
No rating because I’m obviously biased. Just do me a favor and point the guys to this post the next time you order from Litko, please. If I’m lucky, they’ll give me some sort of break.
Did I mention I’ve bought from them before?